Create your first map
Now that your API key is configured, let's create your first interactive map.
Step 1: Create a new map entry
- In WordPress admin, go to WP Google Street View → Add New.
- Give your map a title (e.g., "Office Location" or "Store Front").
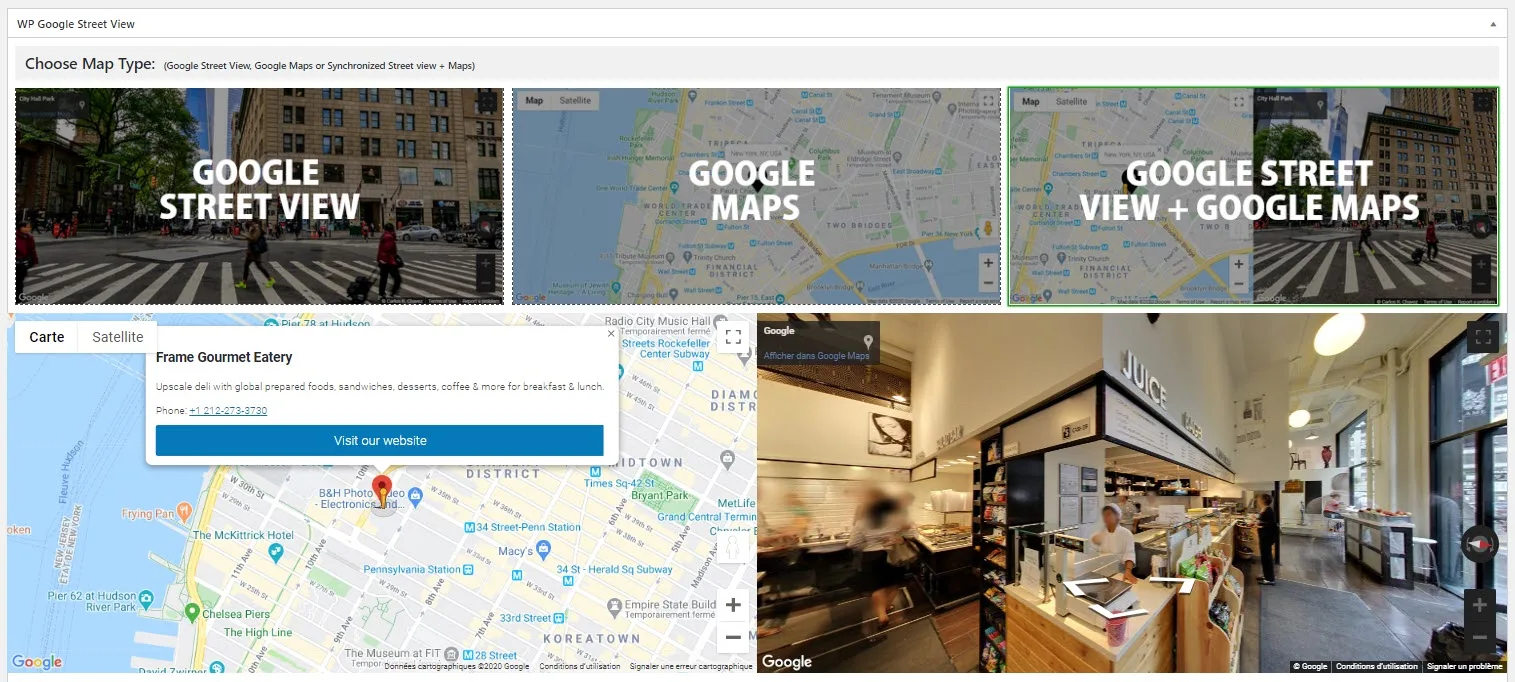
Step 2: Choose a map type
At the top of the editor, you will see three options:
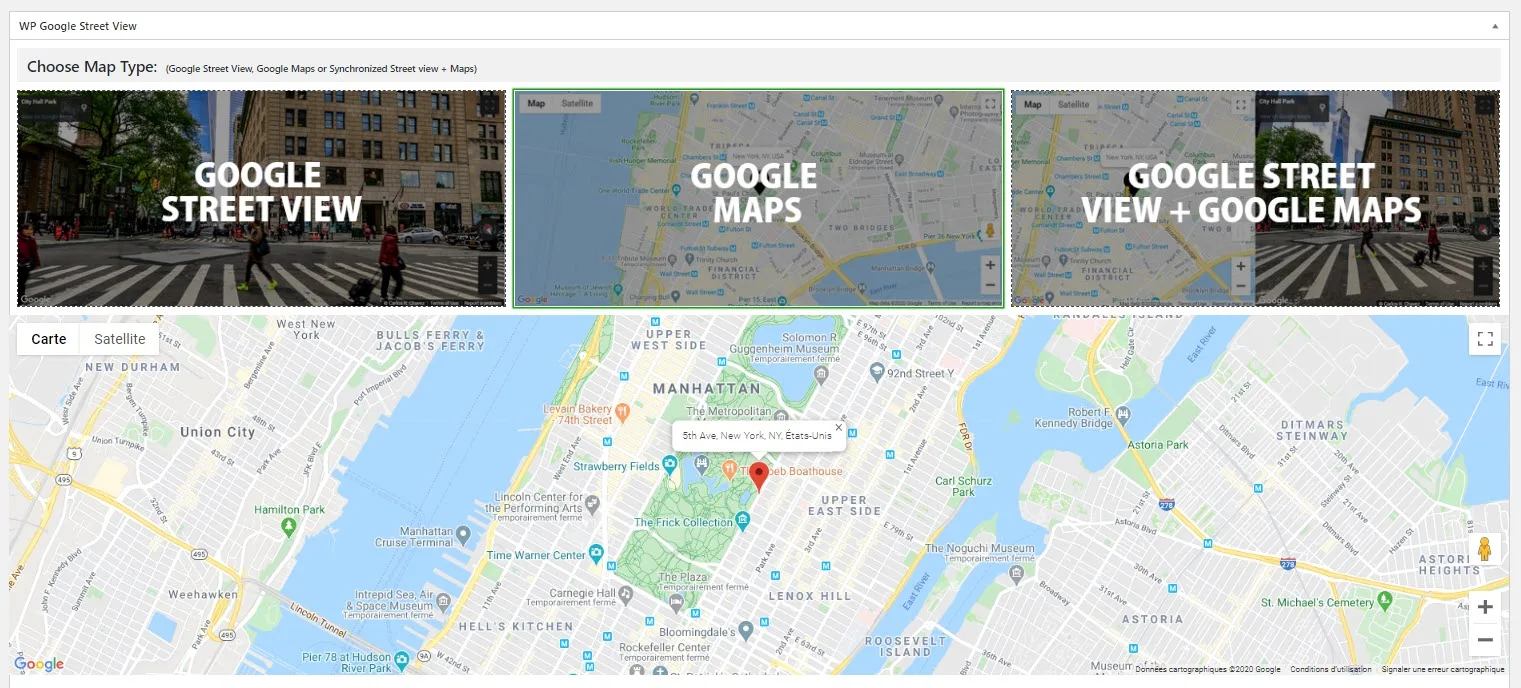
- Google Street View — A 360° panoramic view
- Google Maps — A standard 2D interactive map
- Google Street View + Google Maps — Both side by side, synchronized (Pro)
For this tutorial, select Google Street View.
Step 3: Enter an address
In the Address (Coordinates) field, start typing your address. Google Autocomplete will suggest matching locations. Select the correct one.
The latitude and longitude fields will populate automatically. You can also click Find My Current Location to use your browser's geolocation.
Step 4: Adjust the view
For Street View, the plugin renders a live preview at the top of the editor. You can:
- Click and drag to adjust the heading (horizontal rotation)
- Scroll to zoom in and out
- Click the arrows to move along the street
The plugin automatically saves the heading, pitch, and zoom values so your visitors see exactly the angle you chose.
Step 5: Configure display options
Under the General Settings tab, set:
- Map Width — Use
100%for full-width (responsive) or a fixed value like600px - Map Height — In pixels (e.g.,
450) - Zoom — The default zoom level (1–20)
Step 6: Publish and get the shortcode
- Click Publish (or Update if editing).
- A shortcode appears in the sidebar:
[wpgsv id="XX"] - Copy this shortcode.
Step 7: Embed in a page
- Open any page or post in the WordPress editor.
- Add a Shortcode block (or paste directly in the Classic Editor).
- Paste
[wpgsv id="XX"]. - Publish or update the page.
Your interactive Google Street View panorama is now live.
Preview before publishing
Use the red Click to Preview Your Map button at the bottom of the WPGSV editor to see a live preview before publishing.